News & Insights
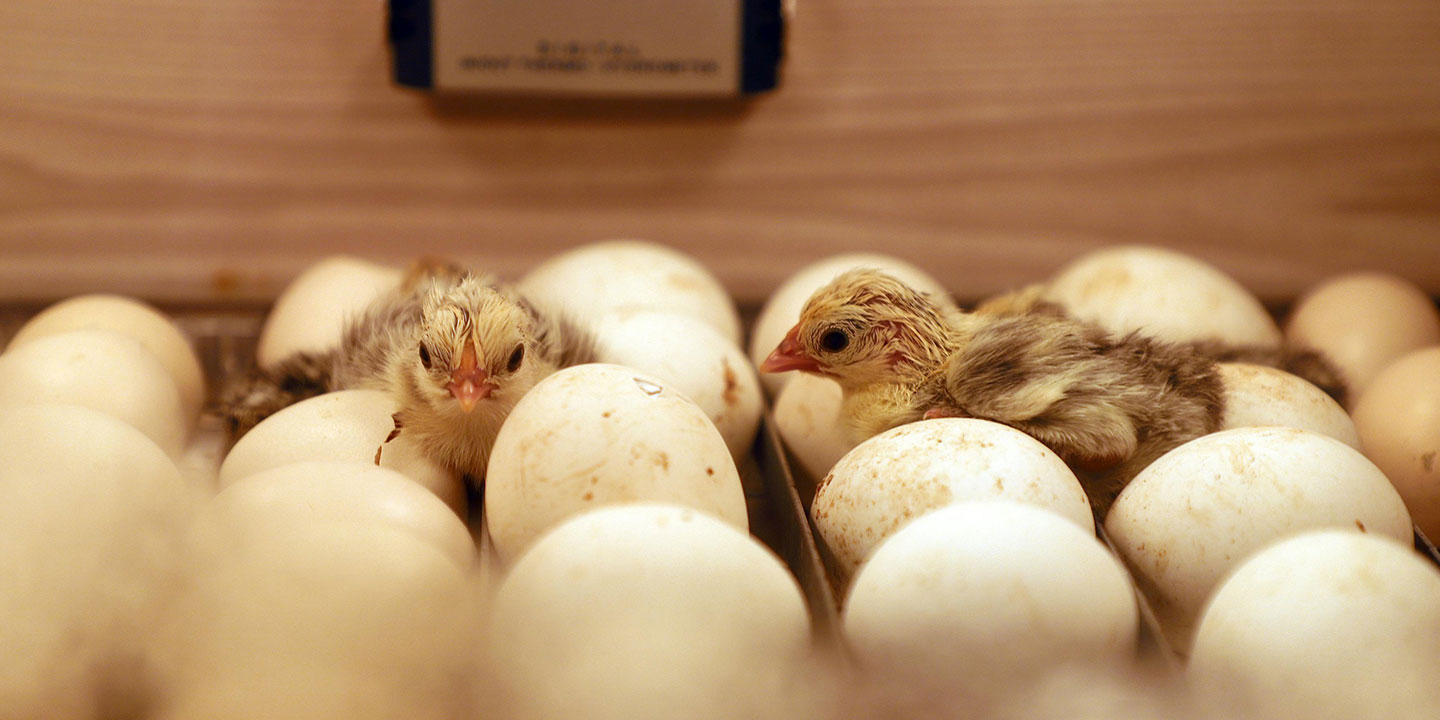
A Guide to Hatching Eggs: How Long Do Chickens Take to Hatch?
Is it your first hatching season? While hatching eggs might seem like a simple process that takes care of itself, there are a few quirks that you will want to keep in mind. One of the most important starting points is asking the question: what is the typical incubation period for a chicken egg? So How Long Do Chickens Take to Hatch? Under normal conditions, and given proper care, chicken eggs will naturally take an average of 21 days to hatch, while other poultry egg breeds may take longer depending on the type. This can depend on a number of factors, including minor temperature changes if using incubation and the health and age of the laying hen. Sometime hatching may take a little less time and some a little longer. Here is a guide: Breed Incubation Period Bantams 21 Chickens 21 Ducks 28 Muscovy 35 Turkeys 28 Geese 28 - 34 Guinea Fowl 26 - 28 Pheasant 23 - 28 Pea Fowl 28 - 30 Quail 16 - 18 Partridge (Chukar) 23 - 24 Pigeon 18 Swan 36 - 37 Ostrich 42
Learn more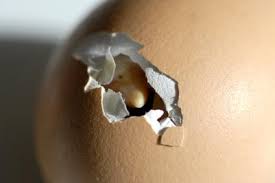
A Guide to Hatching Eggs: Tips to improve your incubation hatch rates
There are many factors that will affect your hatch rate. Using an incubator is only one piece of the puzzle. Hatch rates can be affected by the quality or health of the breeding stock, how the eggs are stores or the quality of the incubator.Here are a few vital things you need to consider in order to get the best results possible when hatching eggs in an incubator. Get these right and you should be hatching in the 90% range but get any of them wrong and you could be disappointed come hatch day. The good news is you will learn every time you incubate a batch of eggs, especially when things don’t go as planned. The more mistakes you make, that faster you’ll learn and perfect your process. Check the quality, health & diet of breeding stock Make sure you get your fertile eggs from a reliable breeder who has good bloodlines and who feed their birds a healthy diet. The conditions the birds are kept in will give you an idea if the breeding stock are well looked after. Also, ask your breeder if their chooks are up to date with worming as this all has an impact on the eggs. Remember once the egg is laid there is nothing you can do to improve it. Confirm the eggs age and storage conditions Eggs should be no older than 7-10 days before being put into the incubator. Every day thereafter will slow down your hatch. If you’re collecting your own eggs then each day store them in a cool spot out of direct sunlight (for example your pantry in an egg carton with the pointy end down). Do not store your eggs in a refidgerator. Collect the eggs for 1 week then set all the eggs in the incubator on the same day. Eggs sent in the post are bound to give you low hatch rates. They will be knocked around, left in the sun, and lord knows how old they are. Never blame a poor hatch from posted eggs on your incubation techniques as you’re behind the eight ball from the start. Use a good quality incubator Get this part right and managing your temperative and humidiy should be much easier to control. There are a lot of poor-quality incubators on the market which aren’t certified for use in Australia. A good incubator will include: consistent and adjustable temperature control, often with digital thermostat adjustable humidity, with a built-in gauge an automatic egg turner (or easy manual turning) efficient air circulation (using a fan) well-insulated design, resistant to external temperature changes a digital display for easy monitoring of temperature and humidity enough space, not overcrowded, sufficient air circulation high-quality, durable materials and components that are easy to clean. If your budget doesn’t allow a good quality incubator and you buy one a cheaper model then we recommend you take care where you place it (maybe in a shed or open space) as untested and uncertified electrical products can be a fire hazard. Set up your incubator as per the instructions Once you do get your incubator be sure to set it up exactly as per the instructions as most models have been tested and perfected over many years and so following the manufacturer’s guidelines will see you getting the very best from your machine. Monitor the temperature (inside and outside) Another vital aspect in the process is temperature, get this wrong and hatch rates will quickly drop. Incubators are designed to maintain the temperature set at a certain level, remember to follow the incubator instructions when setting your temperature levels to increase your changes of a successful hatch. Note: 37.5 degrees celsius is generally considered the ideal incubation temperature although some people will argue slightly higher is best. This can cary depending on the breed. Keep your incubator in a room that will be cooler than the incubation temperature. If your room is hotter than the incubator, the incubator be too hot for the eggs. You need to monitor your external room temperature and humidity, especially in hot climates, and through the hottest days of summer. Monitor the humidity Humidity is a crucial factor in egg incubation because it directly affects the development of the embryo and the successful hatching of the chicks. Proper humidity ensures that the eggs remain in the right conditions for the embryo to develop and hatch correctly. Most quality incubators allow you to monitor the internal humidity levels if you eggs. Here are some things to keep in mind: Avoid opening the incubator all the time to check the eggs. This will mess with the conditions every time and mess with your hatch rates. Manual turn incubators must be opened to turn the eggs but make sure you are efficient with this and only open the incubator for the minimum time needed. Make sure all channels are filled (and kept filled) as per the instructions. Don’t forget it is the amount of surface area of the water, not how deep the channels or dishes are that make the humidity higher or lower. Ie a large saucer of water (bigger surface area) will make it more humid than a smaller dish of water (smaller surface area). Some incubators have external access to the water channels which means you never need to open the lid, this is a great feature and worth looking out for. Add lukewarm water - not cold. If you fill the channels with freezing cold water it will probably take an hour or so for the incubator to be at the ideal temp/humidity again, which is not what you want. Mark and turn your eggs If manually turning eggs keep a cross (X) on one side and a (0) on the other written on with a grey lead pencil or similar. This way you will always know which eggs have been turned as you’re doing it. Then have all the crosses up in the morning and all of them down at night. A third turn in the middle of the day (if possible) can also be a good idea. If you have an incubator that rolls the eggs. Make sure all eggs are able to roll freely. Some can get stuck so just keep an eye on them. Maybe even put the X and 0 on the eggs also so that you can see how evenly all eggs are turning. The “rocking” method is my preferred way to turn eggs. Pointy end down the eggs will be rocked backwards and forwards by the incubator. It is a fool proof way to make sure all eggs are being moved evenly, no need to mark them as this all happens automatically. Whichever way you turn the eggs, remember stop turning them 2-3 days before hatch day and leave them on their side so that the chicks can start "pipping" through the shell. Keep the incubator clean Incubators are amazing at replicating the conditions of the mother hen but you need to be aware that the mother will hatch her eggs and then move on with her clutch. She doesn’t keep hatching clutch after clutch over and over in the same tiny space. If she did the nest would get pretty messy wouldn’t it? So you need to ensure that every time you hatch a clutch of eggs the incubator is properly cleaned with hot soapy water and disinfectant then dried out properly before the next batch. We all know how messy an incubator looks after the eggs have hatched but this is a very important step, clean clean clean!Also keep your incubator in good working order. Store it when not being used back in it’s box and in a dry place. It’s also not a bad idea to have a couple of spare parts handy just in case something decides to fail right at the crucial time ie. mid incubation!! Have fun Hatching chickens and other poultry is a great hobby, classroom or family activity. It’s educational and you get to watch new life being bought into the world. No matter your reasons, don’t forget to enjoy the process and don’t get too down on your mistakes. Don’t get too discouraged if things don’t go perfectly. It’s all a learning curve and the fun of it is understanding what might have gone wrong then making the tweaks and changes to improve hatchability next time round.
Learn more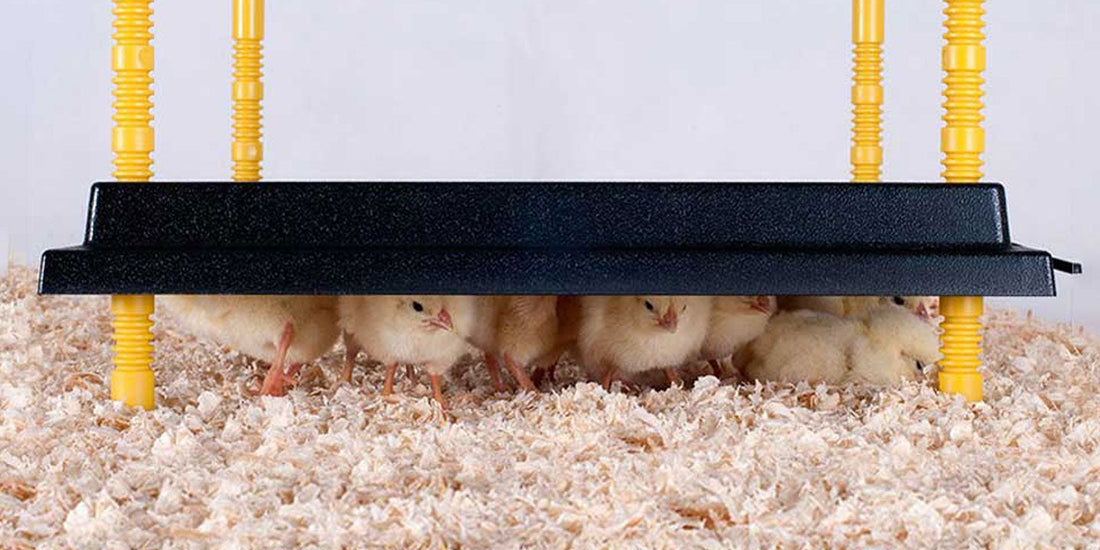
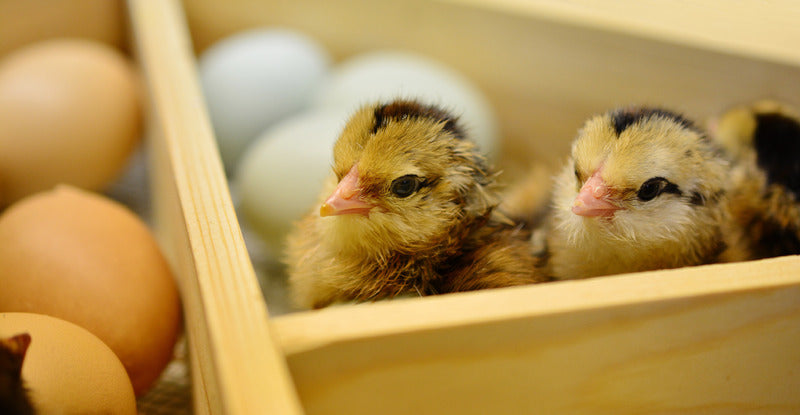
A Guide to Hatching Eggs: Brooding
It’s a great feeling when you’ve successfully hatched a clutch of eggs and you watch your new little chicks fluffing up ready to get out of the incubator. You are now ready to transfer them to a brooder.
Learn more
A Guide to Hatching Eggs: Choosing an Incubator
Here at Brookfield Poultry Equipment we are always getting asked which is the best egg incubator to buy in Australia? Well that definitely depends on your needs. Whether you’re a serious poultry keeper or just dabbling in incubation for the first time we have an incubator perfect for you. It also depends on your budget as there is also quite a range in prices.
Learn more
